Last updated November 18, 2026







Free written scope consultation - allowances, timeline, and change-order rules on paper before a single trade is scheduled
Bathroom Remodeling Troubleshooting: Common Problems and How to Fix Them
Grout cracking at the floor-wall joint two months after a remodel isn’t bad luck. It’s a missing movement joint that any tiler who’s read the TCNA handbook would have installed. That single fact changes the conversation you have with your contractor. Here’s the pattern we’ve watched play out across Winchester: the problems homeowners call us about after a bathroom remodel almost never start where they show up. A slow drain isn’t a drain problem. Peeling paint isn’t a paint problem. Each one traces back to a decision made months earlier, often a quiet one nobody flagged. This guide maps those surface symptoms to their real root causes, tells you what you can reasonably fix yourself, and shows you how to document a problem so a contractor actually responds.
Quick Answer
Most post-remodel bathroom problems (cracked grout, caulk separation, slow drains, peeling paint) are workmanship or communication failures that can be traced to a specific construction decision, not random wear. Fixable-in-an-afternoon issues like re-caulking a dry joint are fair game for a homeowner with the right materials; anything involving waterproofing, plumbing rough-in, or movement joints belongs in a documented callback while your workmanship warranty is still active.
Styles & brands we work with
- Kitchen remodeling
- Bathroom remodeling
- Home additions & ADU
- Roofing
- Windows & doors
- Driveway & pavers
- Fence
Table of Contents
- Why Post-Remodel Problems Show Up Weeks Later
- Cracked Grout and Caulk Separation: What It’s Telling You
- Slow Drains and Standing Water After a Remodel
- Peeling Paint and Bubbling Drywall
- The 30/60/90-Day Inspection Window
- What You Can Fix Yourself vs. What Needs a Callback
- How to Document a Problem So Your Contractor Responds
- Problems Caused by What You Do After the Crew Leaves
Why Post-Remodel Problems Show Up Weeks Later
Construction is a sequence of hidden decisions. Waterproofing membrane, thinset coverage, the movement joint behind your tile, the slope on a shower pan, the exhaust ducting behind the drywall. None of it is visible when the job closes out. It all becomes visible later, usually as a small symptom in a conspicuous place.
Winchester makes this worse than most places. Our swing between a dry, high-desert summer and cooler, wetter winters moves wood framing and substrate constantly. Tile, drywall, and caulk all expand and contract against that. A bathroom built without movement accommodation here doesn’t fail in five years. It fails in one or two, right at the season change.
So when something goes wrong, the useful question isn’t “how do I fix this?” It’s “what decision upstream created this?” We’ve found that question separates two very different situations:
- A one-time material issue – a single joint that dried out or a pinhole in a caulk line. Fix the joint, done.
- A systemic workmanship issue – a shower pan without the right slope, a missing waterproofing layer, tile set over greenboard. Patching the symptom buys you months, not years.
If you’re starting to think about a renovation and want to understand how a properly run project is sequenced, our Bathroom Remodeling in Winchester page walks through the phases. Trouble happens when a phase gets skipped or rushed, not because the work is inherently fragile.
Cracked Grout and Caulk Separation: What It’s Telling You
Cracked grout along a floor-wall joint or in a shower corner is the single most common callback we see, and it’s almost always a movement joint problem. Grout is rigid. Corners and plane changes move. The fix is caulk or a flexible sealant at every change of plane, not grout. If a tiler grouted straight through a corner, it will crack, and it will keep cracking after you patch it.
Here’s the distinction that matters:
- Hairline crack along a change of plane (floor-to-wall, wall-to-wall in a shower corner). This is a missing movement joint. Remove the failing grout, clean it out fully, and fill with a color-matched 100% silicone or a sanded acrylic caulk rated for wet areas. If the joint opens again within a few months, that’s a callback.
- Crack running across the face of a tile or a web of cracks over a large area. That points to substrate movement underneath, meaning the tile wasn’t properly bonded or the backer board wasn’t installed to spec. Re-caulking won’t help. This is a workmanship conversation.
- Grout crumbling or washing out in a shower floor. Water is getting behind the tile. That’s a waterproofing issue and it needs a contractor, not a tube of caulk.
One more note on caulk: if you’re re-caulking yourself, buy a 100% silicone rated for kitchen and bath, not a painter’s acrylic. The acrylic shrinks and fails in a wet environment within a season. And don’t caulk over old caulk. Strip it, clean with isopropyl alcohol, let it dry completely, then apply. Caulk applied over a damp joint peels within weeks.
Slow Drains and Standing Water After a Remodel
A drain that started slow right after a remodel rarely has a clog in the traditional sense. In our experience, three causes account for nearly all of them, and only one is a quick fix:
- Construction debris in the trap. Thinset, grout, and drywall dust get rinsed down during the build. This is the easiest case. A drain snake or a licensed plumber clearing it solves it, and a call to your contractor is reasonable if the slow drain appeared within the first weeks.
- A shower pan without adequate slope. Water should move to the drain on its own, from every point on the floor, without pooling in the corners. If you see standing water more than ten minutes after a shower, the pan slope is wrong. No amount of snaking fixes that. It’s a re-set, and it’s on the contractor.
- An improperly installed linear or tile-in drain. Body, bonding flange, and waterproofing all have to align. If one step was missed, you get slow drainage and, eventually, a leak into the room below.
The tell for a slope problem is a water line on the shower floor that dries in a ring rather than disappearing evenly. Note where the water pools and how long it stands. That detail is what gets a contractor to take the callback seriously. Standing water that sits for hours is a mold risk in a Winchester bathroom, where interior humidity already climbs in the cooler months.
Peeling Paint and Bubbling Drywall
Paint peeling near a shower or tub is a moisture problem, not a paint problem. The paint is just the messenger. Two failures cause almost all of it:
- Bathroom paint that isn’t rated for wet areas. Standard interior latex on a bathroom wall fails at the first stretch of steamy weather. A bathroom needs a satin or semi-gloss finish formulated for kitchen and bath, applied over a properly primed surface. If a crew used the same paint they used in a hallway, the ceiling or the wall above the shower will fail.
- Inadequate ventilation. A fan that’s undersized, ducted wrong, or blocked lets moisture sit on the walls all day. The paint peels from behind. We’ve opened up exhaust runs in Winchester homes that vented into the attic instead of outside, which is worse than no fan at all.
Bubbling drywall in the corner above a shower is a different alarm. That’s water behind the surface, usually from a failed caulk joint or a shower wall that wasn’t properly waterproofed. Bubbling isn’t cosmetic. Stop using that shower until it’s inspected. This is one of those situations where catching the symptom at day 30 saves you a five-figure repair at month 18.
Check your exhaust fan the same way: run it, hold a square of toilet paper near the grille, and see if it holds. If it barely pulls, either the fan is undersized or the duct is clogged. A licensed contractor or a competent handyman can trace the duct run and tell you which.
The 30/60/90-Day Inspection Window
Most workmanship failures announce themselves in the first three months. That’s the window to look, and it’s the window where your written warranty is least controversial. We use it as a checklist on every job. Here’s what to do and when:
- Day 30 – Seal and settle. Walk the entire room and check every caulk joint at floor, wall, and shower corners. Check grout for hairline cracks. Run the shower for ten minutes and watch the drain. Check the sink and toilet base for any rocking. Look at the paint above the shower for any bubbling.
- Day 60 – Moisture and drainage. Look for any water marks at the base of the shower pan or the edge of the tub. Check that the fan clears the mirror within five minutes of a shower. Press a paper towel against the base of the shower wall on the outside; if it feels damp, you have a leak. Look under the sink for any staining.
- Day 90 – Finishes and movement. Check door and drawer alignment (humidity moves cabinet frames). Look at the points where tile meets trim and where the doorframe meets the wall. By three months the seasonal swing in Winchester has already worked on the framing, so movement issues surface now if they’re going to.
Do this inspection with a camera in hand and write down what you see with dates. A call at day 30 is a warranty call. A call at month 12 is a tougher conversation. If you’re hiring for a bathroom that hasn’t started yet, ask your contractor directly whether they walk the job at 30, 60, and 90 days. How they answer tells you what kind of project it’ll be.
What You Can Fix Yourself vs. What Needs a Callback
The line is clearer than most homeowners think. You can handle surface re-sealing and minor adjustments. You should not touch anything that involves waterproofing, plumbing, or structural substrate. Here’s the split:
- Fair game for a competent DIYer: re-caulking a dried joint with 100% silicone; touching up paint with the same sheen and product; adjusting a cabinet hinge with a screwdriver; re-grouting a small, non-cracked area of grout on a vertical wall; clearing a slow drain with a hand snake; replacing a showerhead.
- Callback territory: anything where water is getting behind a surface; a shower pan that doesn’t drain; cracked tile over a wide area; a drain that’s slow after the pan was reset; bubbling drywall; any electrical issue at a fan or light; anything where the fix requires removing tile or opening a wall.
The tools you’d need for the DIY side: a caulk gun, a tube of 100% silicone, a grout saw, a small bucket, and a squeegee. If you’re replacing a showerhead, use Teflon tape on the threads and hand-tighten only. That’s a two-minute job. If your fix requires a stud finder and a hole in the tile, call your contractor. The reason is simple: you don’t know what’s behind the tile, and neither does anyone who’d try to fix it blind.
One rule of thumb: if the fix is cosmetic, fix it. If the fix requires a judgment call about how a layer was built, it’s a callback. That’s not about the money. It’s about whether the layer underneath is actually correct.
How to Document a Problem So Your Contractor Responds
We’ve been on both sides of this. A vague “the grout cracked” text gets lost. A documented report gets handled. The difference is entirely in how you present it.
What to include in a written follow-up (email is better than text because it’s searchable and dated):
- Photos at the right scale. One wide shot that shows the whole wall, and one close-up that shows the crack. Include a reference object (a coin, a ruler, your hand) next to the defect. That combination tells a contractor exactly where and how big the issue is.
- A date, time, and a description of the exact conditions. “Second shower of the day, roughly 8:15 a.m., water standing in the corner for 15 minutes after the shower ended.” Specifics change the conversation.
- The pattern. Is it one joint, or is it the same joint every 24 inches? A pattern is what makes a contractor suspect a systemic issue rather than a fluke.
- A written request. “Please let me know when you can take a look, and confirm by email.” That’s it. Clear ask, no argument.
If the response is slow, a follow-up with the original email attached and a line about your written warranty usually resolves it. We work under a written price before any work starts and a 365-Day Done Right Promise, so our side has no room to argue about what was promised. Not every contractor works that way. If yours doesn’t, having the photos, dates, and written request puts you in a much better position. A local General Contractor in Winchester who stands behind their work will treat that documentation as the start of a real conversation.
Problems Caused by What You Do After the Crew Leaves
Some of the most expensive cosmetic damage we see after a remodel is caused by the homeowner’s own habits, not the construction. None of it is malicious; it’s almost always not knowing what a new surface can and can’t take. The four repeat offenders:
- Wrong cleaners on new surfaces. Abrasive powders dull a matte porcelain tile and strip the polish off a Cambria or Caesarstone quartz counter in a few scrub sessions. Acidic cleaners etch natural stone and attack the grout lines. Use a pH-neutral cleaner and a microfiber cloth. That’s all most bathroom surfaces need.
- Painting over caulk too soon. Painter’s caulk needs 24 to 48 hours to cure. Painting over it before then traps moisture and causes the paint to peel within weeks. If you re-caulk and plan to paint the trim over it, wait the full cure time. The tube will tell you what that is.
- Exhaust fan neglect. A fan grille clogs with dust and lint in months, cutting its airflow in half. Vacuum the grille every few months and wipe it down. That one habit does more for your paint and your caulk than any repair.
- Ignoring small leaks. A dripping shower head that runs for months erodes the surface and any grout line underneath. Fix the drip. It’s cheaper than a callback.
The material partners behind most of these remodels (Kohler, Moen, Grohe for fixtures; Cambria and Silestone for surfaces) all publish specific care instructions for their products. Manufacturer-backed care instructions are the most reliable source, and they’re usually one page, not a binder.
Common Mistakes to Avoid
- Accepting a verbal warranty. A promise made during a walkthrough isn’t worth much after the crew moves to the next job. Get the warranty, the scope, and the price in writing before work starts. That’s a company process, and it’s the one we build every job around.
- Skipping the 30-day walkthrough. The first month is when small water issues are cheapest to fix. Most homeowners don’t look at their new bathroom until something breaks at month six, when the fix is more expensive and the warranty conversation is harder.
- Re-caulking over the top of old caulk. It looks fine for a week, then peels. Always strip, clean, and dry before applying new caulk. This is the most common DIY mistake on bathroom surfaces.
- Using an abrasive cleaner on new tile or countertops. A powder scrub pads down a matte surface in one session. Use a pH-neutral cleaner and a microfiber cloth; it’s the only cleaner your new bathroom needs.
- Ignoring a stalled exhaust fan. In a dry high-desert climate like Winchester’s, hot dry summers and cooler wet winters still combine to put moisture on walls. A fan that vents into the attic instead of outdoors is one of the most common finds on our inspections. Make sure it pulls, and check where the duct goes. If the duct ends in the attic, have it rerouted.
- Letting a leak drip from one season to the next. A small leak in a shower pan in October becomes a bigger conversation in June. Water damage compounds, and a Winchester bathroom that sits damp for a season is a mold problem waiting for the next wet stretch.
See the difference
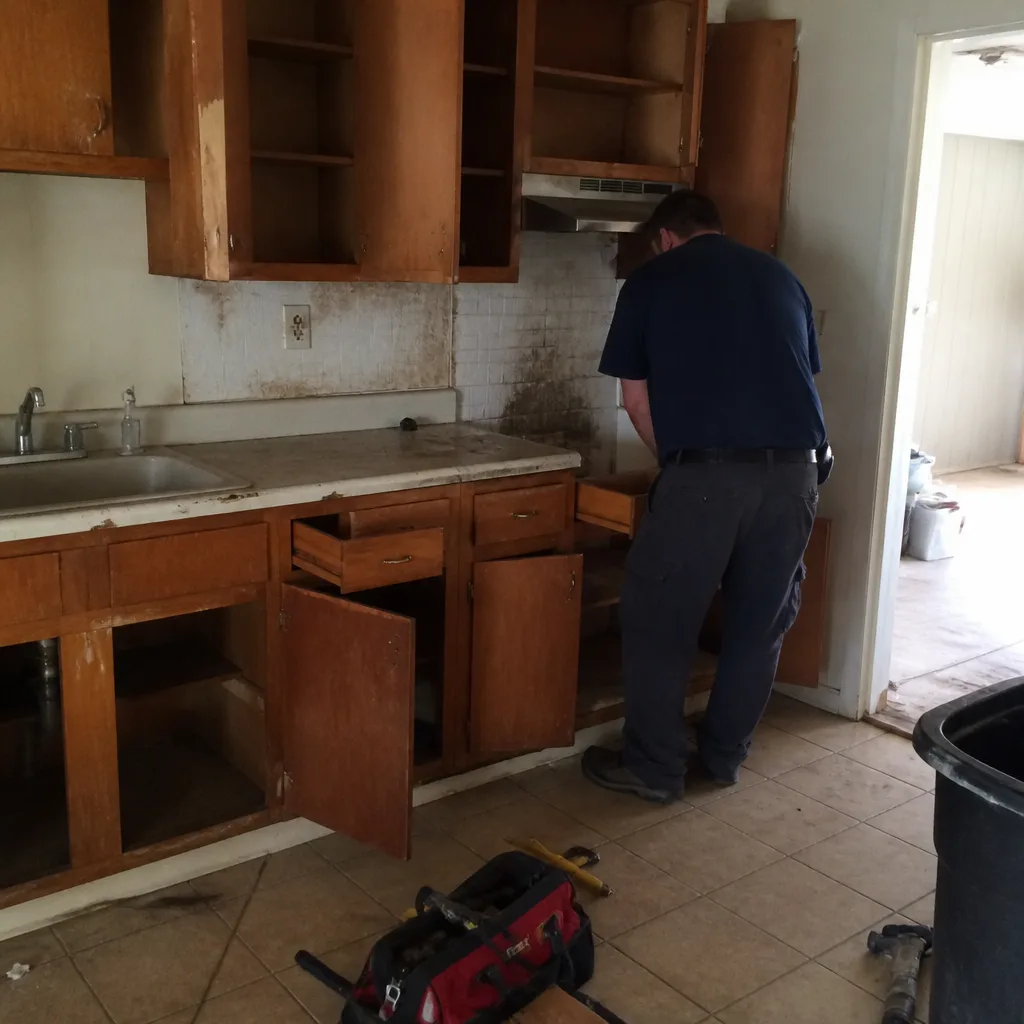 Before
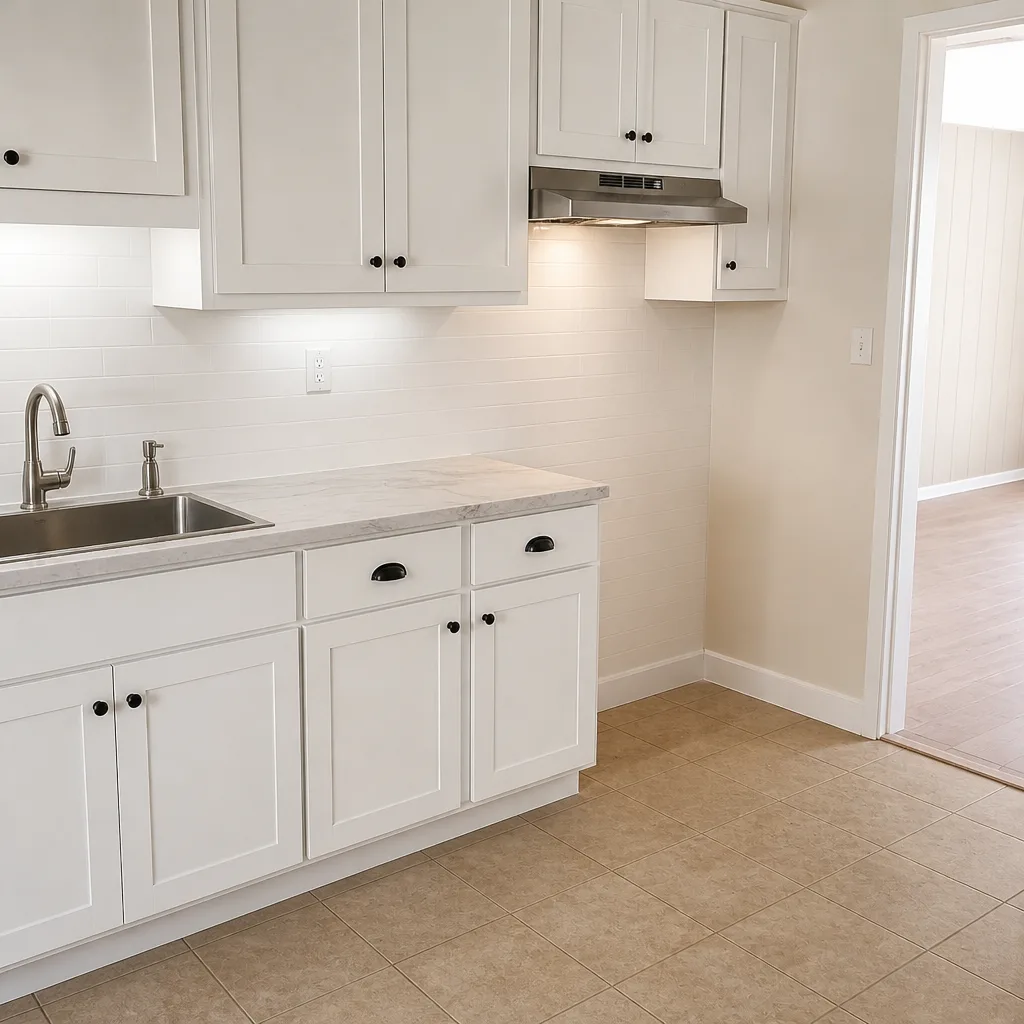 After
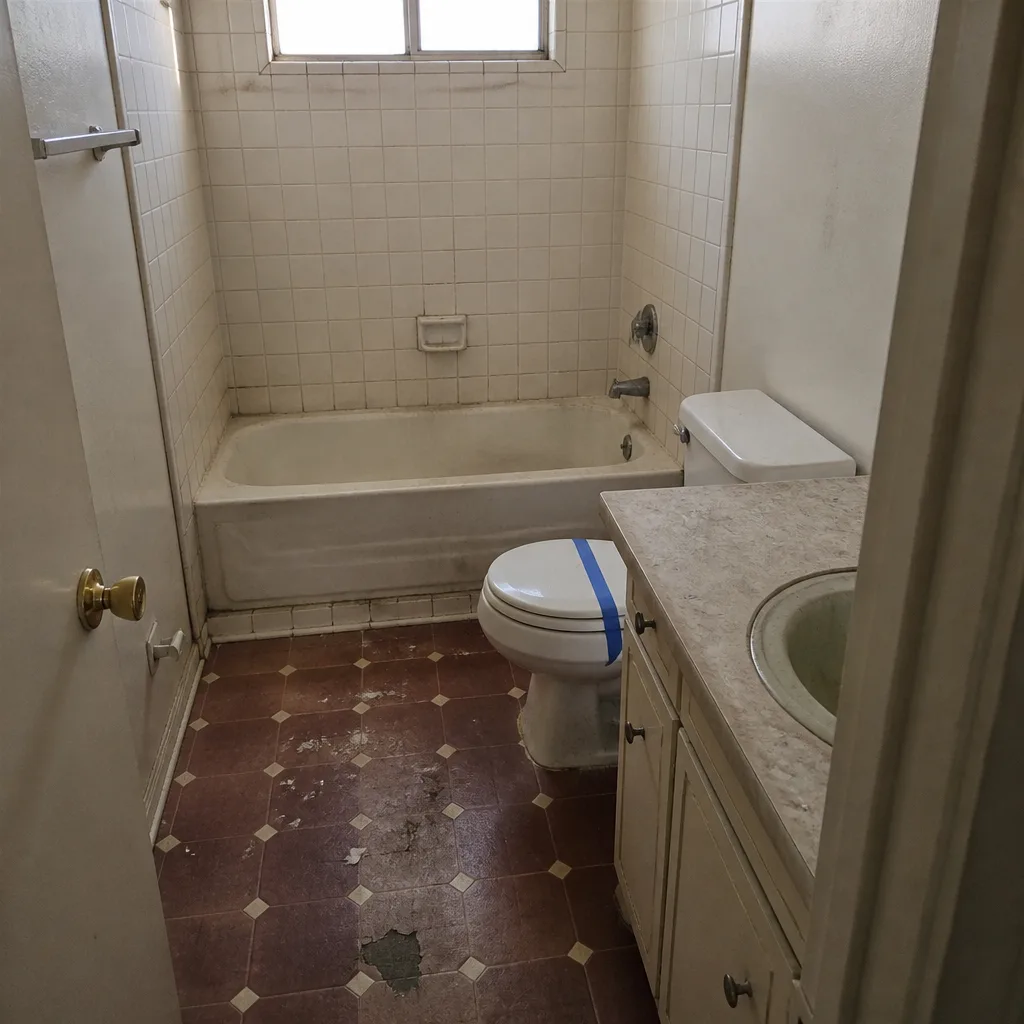 Before
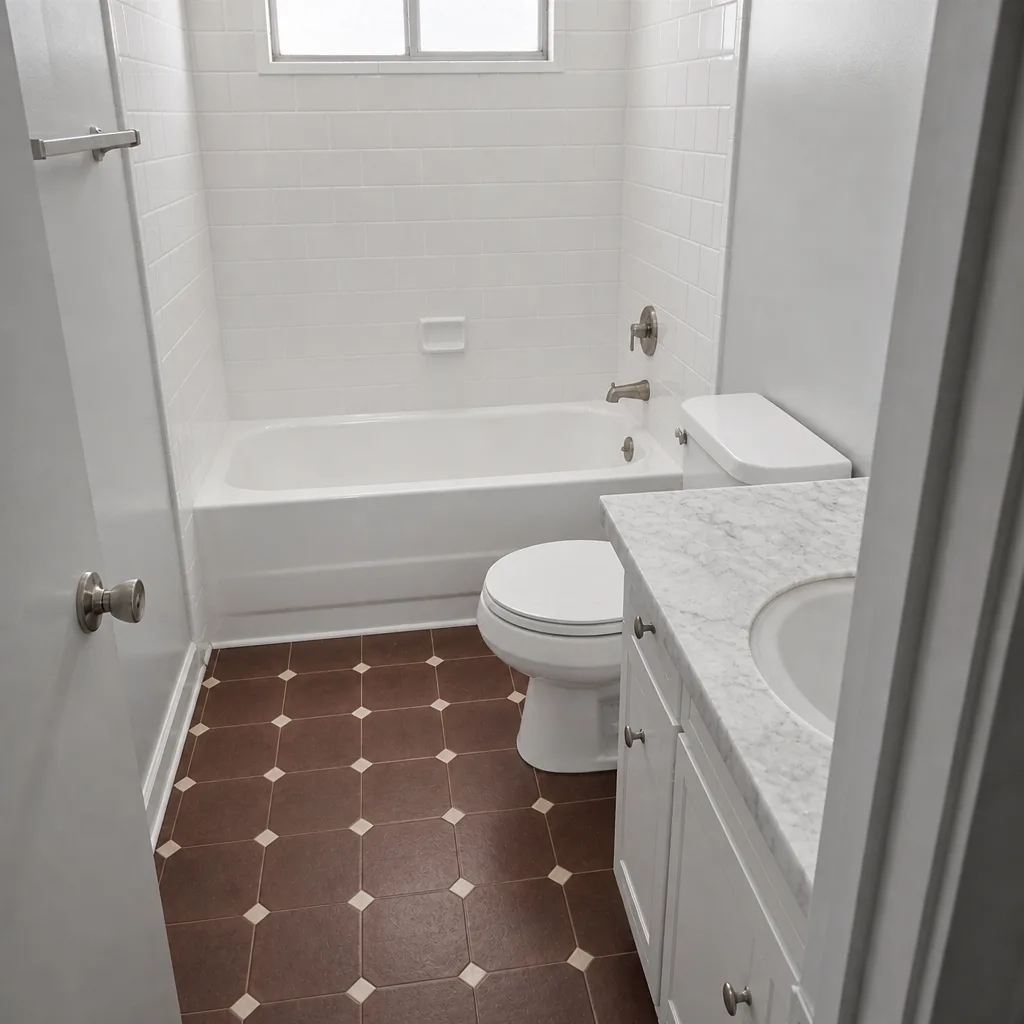 After
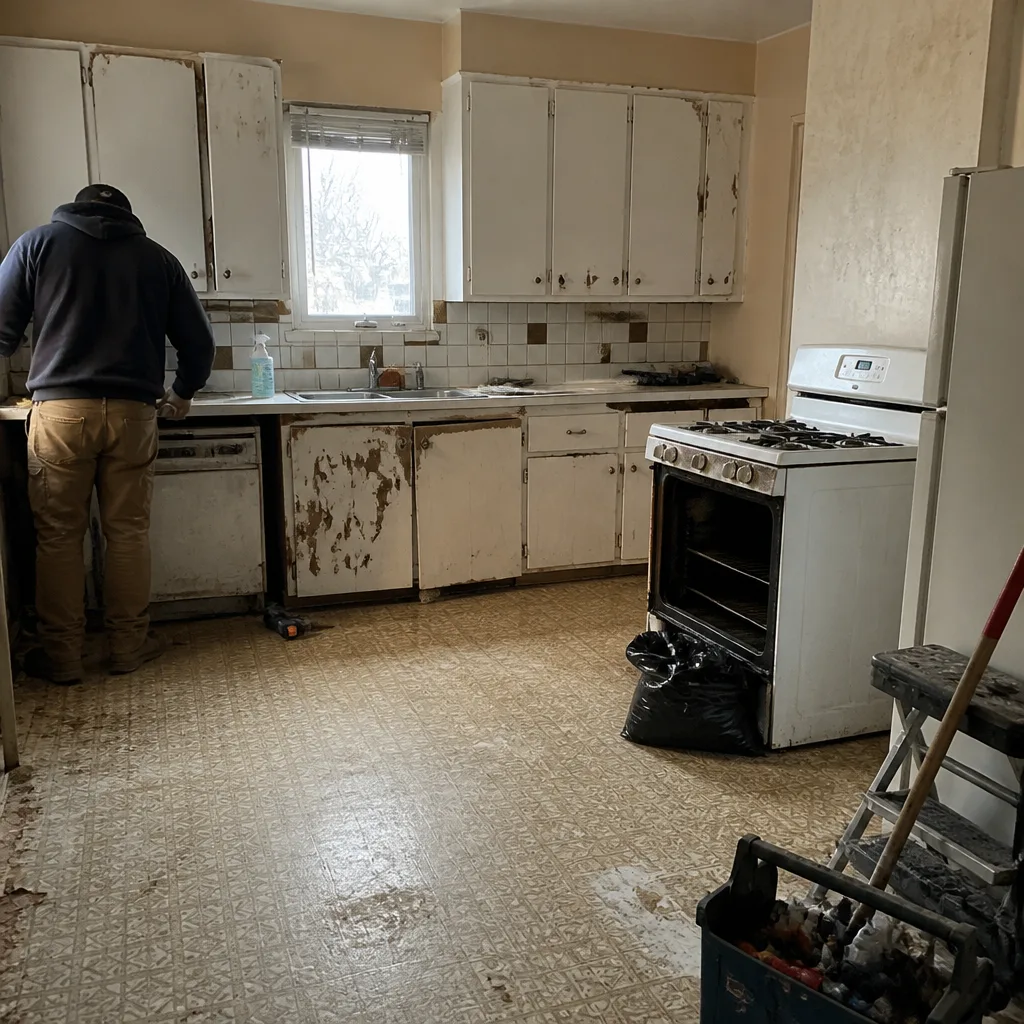 Before
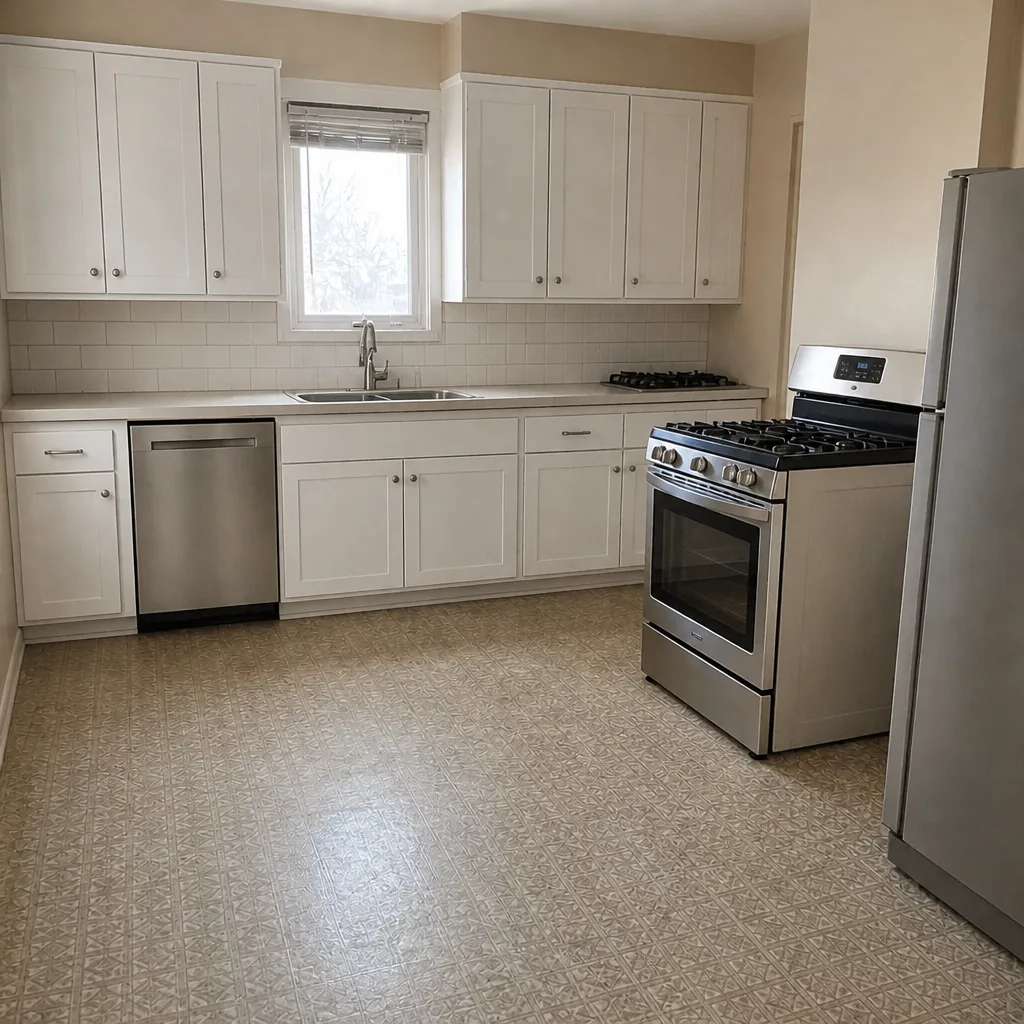 After
When to Call a Professional
Call a professional the moment water behaves in a way you don’t understand. A shower floor that doesn’t drain, a wall that’s damp after a shower, water marks at the base of the tub, or bubbling paint in a corner are all cases where a wall or pan has to be opened to see the truth. That’s not a job for a caulk gun. Same rule for any electrical work at the fan or the lighting, and any plumbing beyond a showerhead or a hand-snake. And if you’re still inside the workmanship window, call the contractor who did the build first, with photos and dates. If they won’t come out, getting a second contractor’s report is worth the fee. Sawyer Remodeling Winchester offers free estimates in Winchester, so call (888) 343-7097 and we’ll tell you what we see.
Frequently Asked Questions
Most workmanship-related issues surface in the first 30 to 90 days, which is the reason the 30/60/90 inspection window exists. Grout and caulk failures, slow drains, and moisture problems all show up within that window in a climate like Winchester’s, because the seasonal movement on the framing starts working on the new materials quickly. If a room looks perfect at 90 days, it’s a good sign it was built correctly.
No, it’s not normal, and it points to a missing movement joint. A properly built bathroom uses a flexible sealant (caulk or a sanded acrylic rated for wet environments) at every change of plane, and a rigid grout line that cracks there is a construction defect, not normal wear. It’s fixable, but a joint that re-opens after you patch it is a workmanship callback.
You can fix a true clog with a hand snake, and that’s a reasonable first step. If the drain is slow after a remodel and a snake doesn’t clear it, stop. A shower pan without adequate slope or a tile-in drain installed wrong both cause slow drainage and both require opening the floor. That’s a contractor job, and it’s a warrantable one in most cases. Call (888) 343-7097 for a free estimate if you’re not sure which problem you have.
Email with a wide photo, a close-up with a reference object for scale, the date and time, a description of the exact conditions (like “second shower of the day, water standing 15 minutes after”), and a written request for a callback. That format is far more likely to get a real response than a text that just says “grout cracked.” Keep a copy for your records, and attach it to any follow-up.
If your contract included a written workmanship warranty, the first step is a documented request by email with photos and dates, followed by a phone call if there’s no response. In Winchester, that paper trail is what makes a difference. If the situation is a genuine hazard (a leaking pan, a wet wall, an electrical issue), stop using the bathroom until a second contractor inspects it. A local pro can give you a written report you can use in the conversation with the original contractor.
Re-caulk a dry, cracked joint right away, because waiting lets water into a spot that should be sealed. But hold off on the cosmetic stuff that isn’t wet-related and look at it as part of your 30-day walk instead. Fix what’s letting water behind a surface immediately. Fix the paint touch-up next weekend. The rule is: anything water gets through gets fixed first.
Moisture behind the paint, nearly every time. The two usual causes are bathroom paint that isn’t rated for wet areas and an exhaust fan that’s undersized or venting into the attic instead of outside. Both are common in Winchester homes. Have a contractor check the duct run before you repaint, because repainting over a moisture problem just moves the failure one season further out.
The Bottom Line
Every post-remodel problem has a cause, and almost every cause traces back to a decision made during construction: a movement joint that wasn’t installed, a shower pan that wasn’t sloped, a fan ducted into the attic. The value of knowing that is that it changes a vague call to your contractor into a specific, documented conversation with photos, dates, and a written request. Handle the cosmetic fixes yourself, document the rest, and inspect at 30, 60, and 90 days. Work with a company that gives you a live arrival time, photo updates, a written price before the first tool is picked up, and a Kitchen Remodeling in Winchester neighbor who’ll tell you we run bathrooms the same way. For a clear read on your project, call (888) 343-7097 for a free estimate. Our technicians have up to 21 years of experience, and every job is backed by the 365-Day Done Right Promise and The Relay Visibility Guarantee. Start at Sawyer Remodeling Winchester home if you want the full picture of how we work.
Written by the team at Sawyer Remodeling Winchester.