
Last updated November 18, 2026








Free written scope consultation - allowances, timeline, and change-order rules on paper before a single trade is scheduled
Kitchen Remodeling Maintenance Schedule: What to Do and When
Cabinet hinges are the first thing to fail in a new kitchen, usually within 18 months, and they’re the easiest $12 fix a homeowner never thinks to do. A remodeled kitchen has more maintenance surfaces than most people realize: grout, caulk, countertop sealant, cabinet hardware, and hood filters all run on their own service clocks. Most contractors skip this conversation at project closeout, which is why kitchens that looked perfect at year one can look tired by year five. This guide gives you the full 12-month calendar for a Winchester kitchen, what Nevada’s dry air does to wood cabinets, and the two hours of maintenance per year that keeps your investment looking new.
Quick Answer
Maintain a remodeled kitchen on a quarterly and annual cycle: reseal stone countertops every 6 to 12 months, check and refresh sink and backsplash caulk every 6 months, re-grout or seal tile grout every 12 to 24 months, and inspect under-sink plumbing and cabinet hinges every 6 months. In Winchester’s low-humidity climate, wood cabinets need humidity attention more than polish, and abrasive cleaners will shorten the life of any new sealant.
Styles & brands we work with
- Kitchen remodeling
- Bathroom remodeling
- Home additions & ADU
- Roofing
- Windows & doors
- Driveway & pavers
- Fence
Table of Contents
- The 12-Month Kitchen Maintenance Calendar
- Grout and Caulk: The Sealants That Protect Everything Behind Them
- Countertop Sealing and What Quietly Ruins It
- Cabinet Care in Nevada’s Dry Air
- The Under-Sink Inspection Checklist
- Hardware, Hinges, and Hood Filters
- Keeping Your Remodel New at Year Five
- Common Mistakes to Avoid
The 12-Month Kitchen Maintenance Calendar
Most maintenance advice for kitchens is generic. This calendar is built for a remodeled kitchen in Winchester, where humidity runs low most of the year, summer temperatures push over 100°F, and the swing between dry winter and hot summer puts real stress on wood and caulk lines.
Here’s the service schedule we hand to clients at project closeout. Two hours per year, split across four check-ins, keeps every surface in the room working.
- January (or whenever you take down holiday decor): Wipe cabinet faces with a damp cloth and mild soap. Check every hinge screw for looseness. Look at the toe kick and base cabinets for any sign of moisture.
- April: Reseal stone countertops. Check caulk at the sink, backsplash, and countertop-to-wall seam. Replace the range hood filter or clean the metal mesh version.
- July: Full under-sink inspection. Pull everything out, dry the cabinet floor, run the faucet, and watch every connection and the disposal mount for drips. Check that the dishwasher supply line isn’t brittle.
- October: Deep-clean tile grout and inspect for cracks. Test cabinet door alignment and adjust as needed. Clean behind the refrigerator and check the water line if you have an ice maker.
For homeowners in the master-planned communities around Winchester, where homes often share similar build years and materials, that October check-in is also the natural time to walk the rest of the house. A Sawyer Remodeling Winchester home page covers the broader maintenance rhythm if you want to extend this schedule beyond the kitchen.
Grout and Caulk: The Sealants That Protect Everything Behind Them
Grout and caulk are the least glamorous parts of a remodel and the most important to maintain. Caulk at the sink and backsplash keeps water out of the cabinet box and out of the wall cavity. Grout keeps moisture out of the tile substrate. When either fails, water gets where it shouldn’t, and by the time you see damage, the repair is no longer a $10 tube of caulk.
In our experience, caulk in a Winchester kitchen needs refreshing every 6 to 12 months, not the multi-year life some product labels suggest. The dry heat accelerates shrinkage, and the constant wet-dry cycle at the sink breaks the bond fastest.
Here’s how to check and maintain both:
- Caulk: Press a fingernail into the caulk line at the sink and backsplash. If it’s hard, cracked, or pulling away from the surface, cut it out with a utility knife and reapply a 100% silicone caulk rated for kitchens and baths. Silicone outlasts acrylic in wet areas.
- Grout: Look for hairline cracks, crumbling, or darkened spots that don’t scrub clean. Seal grout every 12 to 24 months with a penetrating sealer. A drop of water on the grout should bead up; if it soaks in, it’s time to reseal.
- Epoxy grout: If your remodel used epoxy grout, it doesn’t need sealing, but it still needs cleaning with a pH-neutral product. Abrasive cleaners dull it.
If you’re planning a tile backsplash or floor and want to know which grout type fits your use, the team at our kitchen remodeling in Winchester service can walk you through the options before the material order goes in.
Countertop Sealing and What Quietly Ruins It
Natural stone countertops like granite, marble, and quartzite are porous and need sealing. Engineered quartz and brands like Cambria and Caesarstone are non-porous and don’t need sealing, though they still benefit from gentle cleaning. Knowing which surface you have determines the whole schedule.
Sealing intervals depend on the stone and use. A busy family kitchen typically needs resealing every 6 to 12 months. A lightly used kitchen can stretch to 18 months. The water test tells you: put a few drops of water on the surface, wait 15 minutes, and wipe. If a dark ring remains, the stone has absorbed water and is due for sealer.
The bigger issue is cleaning products. Several common household cleaners degrade countertop sealant within months:
- Vinegar and citrus cleaners: Acidic, and acid eats through stone sealant. Skip them on natural stone entirely.
- Bleach and ammonia: Strip sealer and can etch certain stones. Not for regular use.
- Abrasive powders and scouring pads: Scratch polished surfaces and remove sealer in patches.
- “Granite polish” sprays with wax: Build up a film that traps dirt and dulls the finish over time.
What to use instead: a pH-neutral stone cleaner or a drop of mild dish soap in warm water, a soft microfiber cloth, and a squeegee for quick spills. That’s it. The sealant does the work.
Cabinet Care in Nevada’s Dry Air
Wood cabinets in a humid climate swell and stick. In Winchester, they do the opposite: they dry out, shrink slightly, and can develop hairline cracks at door joints and drawer fronts. Relative humidity in southern Nevada often drops below 20% in winter, and interior wood reacts to that.
The fix isn’t more polish. It’s humidity control and a light cleaning routine.
- Keep interior humidity between 35% and 50%. A whole-home humidifier or a portable unit in the kitchen area during winter months prevents most seasonal wood movement. This matters most for the first two years after installation, when new cabinets are still settling.
- Clean with a damp cloth and mild soap, then dry immediately. Never leave water sitting on cabinet faces, especially near the bottom rail where moisture wicks into the wood.
- Skip furniture polish and oil-based sprays. They build up a sticky film that attracts dust and can react with factory finishes. Modern cabinet finishes from brands like KraftMaid and Wellborn are designed to be cleaned, not oiled.
- Check door alignment twice a year. Wood movement shifts doors, and a misaligned door stresses the hinges.
If your kitchen is older and the cabinets are past maintenance, our general contractor in Winchester team can assess whether refacing or replacement makes more sense for your space and budget.
The Under-Sink Inspection Checklist
The under-sink cabinet is where slow leaks cause the most expensive damage in a kitchen, and it’s the space no one looks at. A drip from a supply line or a loose drain connection can soak the cabinet floor and the subfloor beneath it for months before you notice a soft spot or a musty smell. In a dry climate like Winchester’s, that moisture often doesn’t show until the damage is already structural.
Do this inspection twice a year. It takes 10 minutes.
- Take everything out of the cabinet and dry the floor with a towel.
- Run the faucet hot and cold, then look at every supply connection under the sink.
- Watch the drain trap and the P-trap connections while water runs. Any drip, even a slow one, needs tightening or a new gasket.
- Check the disposal mount at the sink flange and the discharge hose. Look for condensation or staining.
- Inspect the dishwasher supply line and drain hose for brittleness or cracks. If they’re hard and stiff, replace them.
- Look at the back wall and cabinet floor for water stains, bubbling, or soft spots. Any of those means moisture has been there a while.
- Feel the cabinet floor with a dry paper towel. If it comes away damp, find the source before you put anything back.
If you find a leak you can’t trace, don’t wait. Call a licensed plumber. Water under a cabinet travels fast.
Hardware, Hinges, and Hood Filters
Cabinet hinges are the first thing to fail, and they fail quietly. A hinge that’s lost a screw or worked loose will let the door sag and rub the frame, and the rubbing eventually damages both surfaces. A whole set of replacement hinges costs about $12 to $30, and swapping them takes 15 minutes. That’s the cheapest repair in the entire kitchen.
Here’s what to check every six months:
- Hinge screws: Tighten every screw on every hinge. If a screw won’t hold, fill the hole with a wooden matchstick and wood glue, let it dry, and reinsert.
- Soft-close mechanisms: Test every door and drawer. If soft-close has stopped cushioning, the damper is worn and the hinge or slide needs replacing.
- Drawer slides: Pull each drawer fully out and check for wobble or grinding. A loose slide wears the cabinet side over time.
- Pulls and knobs: Tighten from the back. A loose pull can crack a cabinet face if it’s yanked.
- Range hood filter: Clean metal mesh filters monthly in a degreaser, or replace charcoal filters every 3 to 6 months depending on cooking volume.
For homeowners planning a hardware refresh as part of a bigger update, brands like Ameristar and Barrette now make matching cabinet and exterior hardware lines worth considering if you’re coordinating a larger renovation.
Keeping Your Remodel New at Year Five
At year five, a well-maintained kitchen still looks close to new. The two hours of annual maintenance above is the difference between a room that needs a full refresh and one that just needs a fresh coat of paint on the walls and new towels.
Here’s what the two-hour yearly routine gets you:
- Year 1 to 2: Hinges and alignment get the most attention because hardware is still settling. Caulk may need a refresh by the end of year one.
- Year 3 to 4: Countertop sealant and grout maintenance become the priority. This is also when you’ll notice if your cleaning products have been shortening sealant life.
- Year 5: A full once-over: check caulk, reseal stone, deep-clean grout, replace hood filter, inspect under the sink, and consider a minor paint touch-up on trim and walls. That’s it.
If a surface has failed before year five, that’s a materials or installation problem, not a maintenance problem. Sinks around bathroom and kitchen surfaces are worth reviewing with the same eye if you’re planning updates elsewhere in the home. Our bathroom remodeling in Winchester team sees the same maintenance schedule apply to tile and stone in wet rooms.
Common Mistakes to Avoid
- Using vinegar or citrus cleaner on natural stone. Both are acidic and will strip sealer and etch polished surfaces. Use pH-neutral cleaner only.
- Skipping the under-sink check. Slow leaks in a dry climate don’t announce themselves. They soak the cabinet floor and subfloor quietly. Check twice a year.
- Ignoring cabinet hinge screws. A loose hinge can crack a door face. Tighten screws every six months before alignment problems start.
- Oiling or polishing modern cabinet finishes. Factory finishes don’t need oil, and furniture polish leaves a sticky film. Clean with mild soap and a damp cloth.
- Waiting to reseal stone until it looks dull. Dullness is a sign the sealer has already failed. Use the water test and reseal on schedule.
- Leaving the hood filter too long. A grease-loaded filter cuts airflow and can become a fire risk. Clean monthly or replace every 3 to 6 months.
- Turning up the heat and skipping humidity control. Winchester winters dry out wood cabinets. A humidifier prevents hairline cracks better than any polish.
See the difference
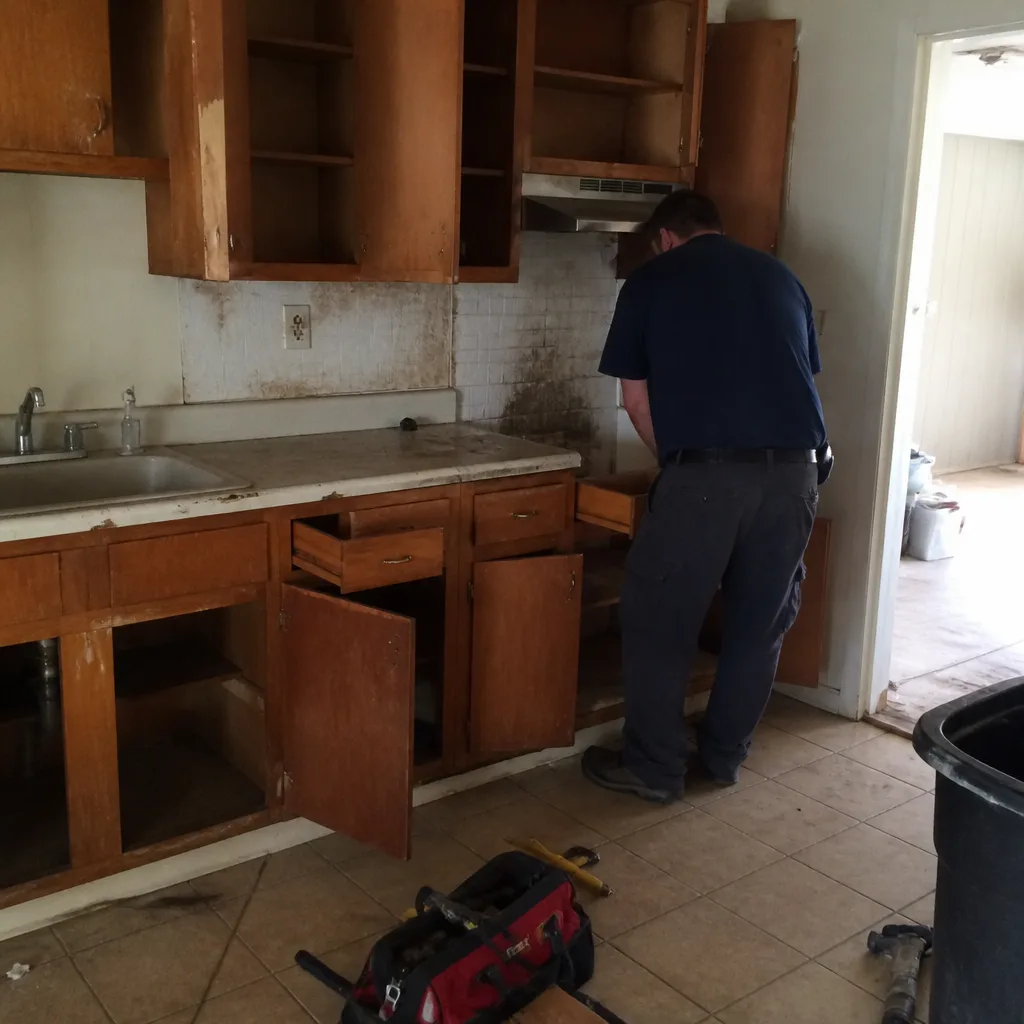 Before
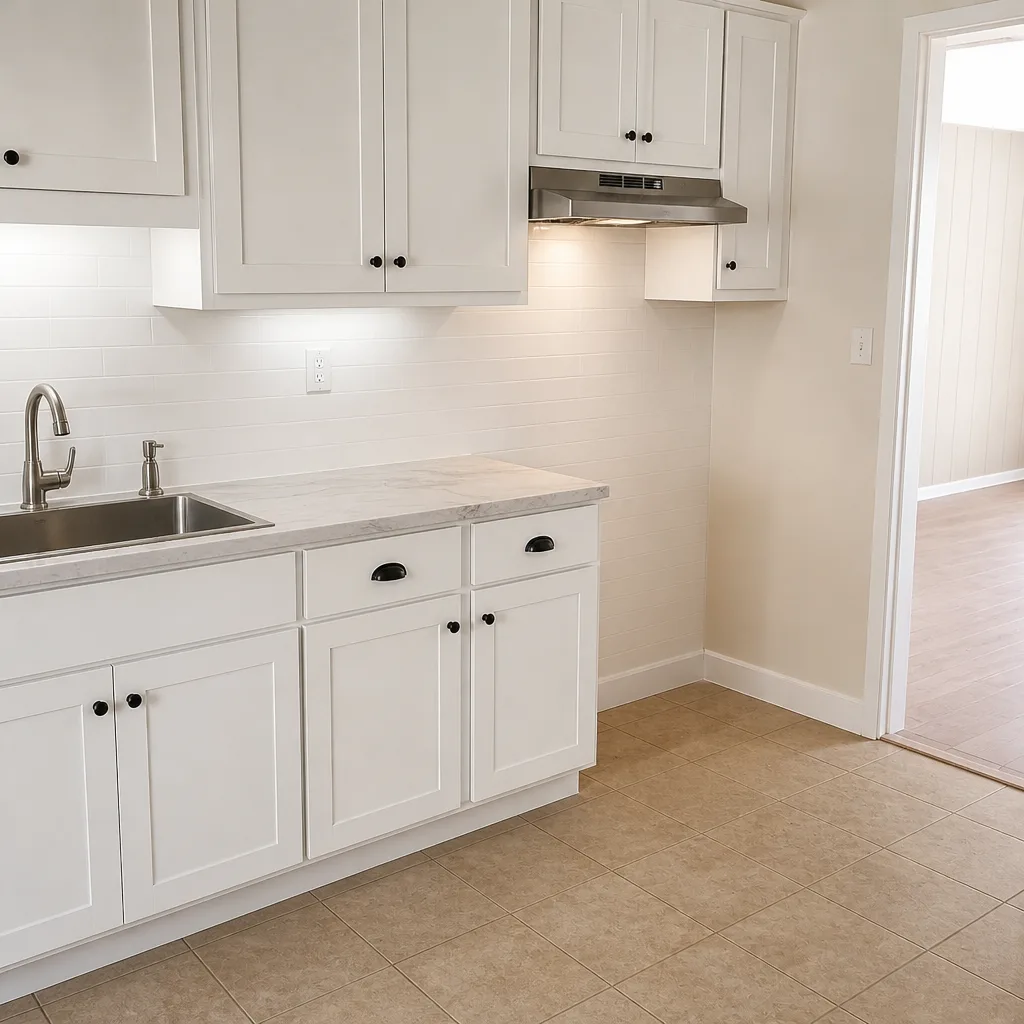 After
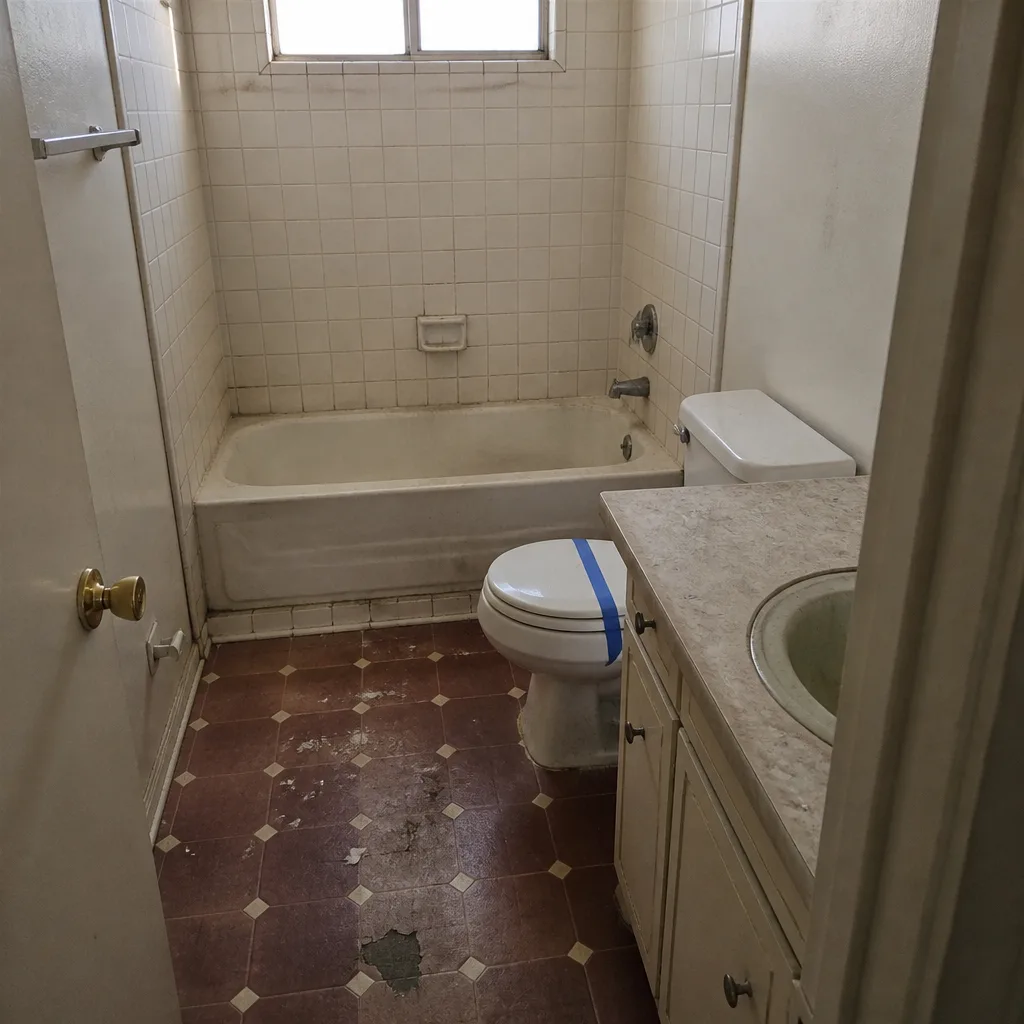 Before
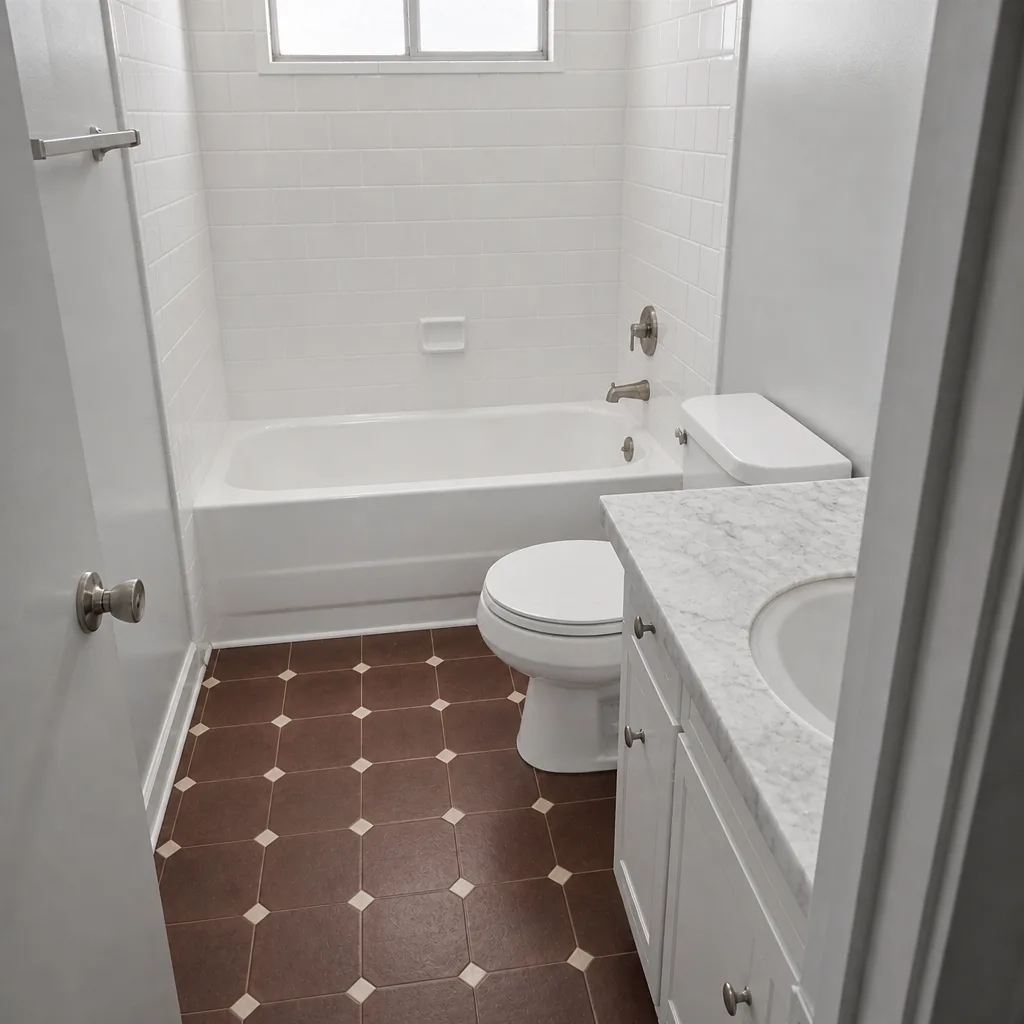 After
 Before
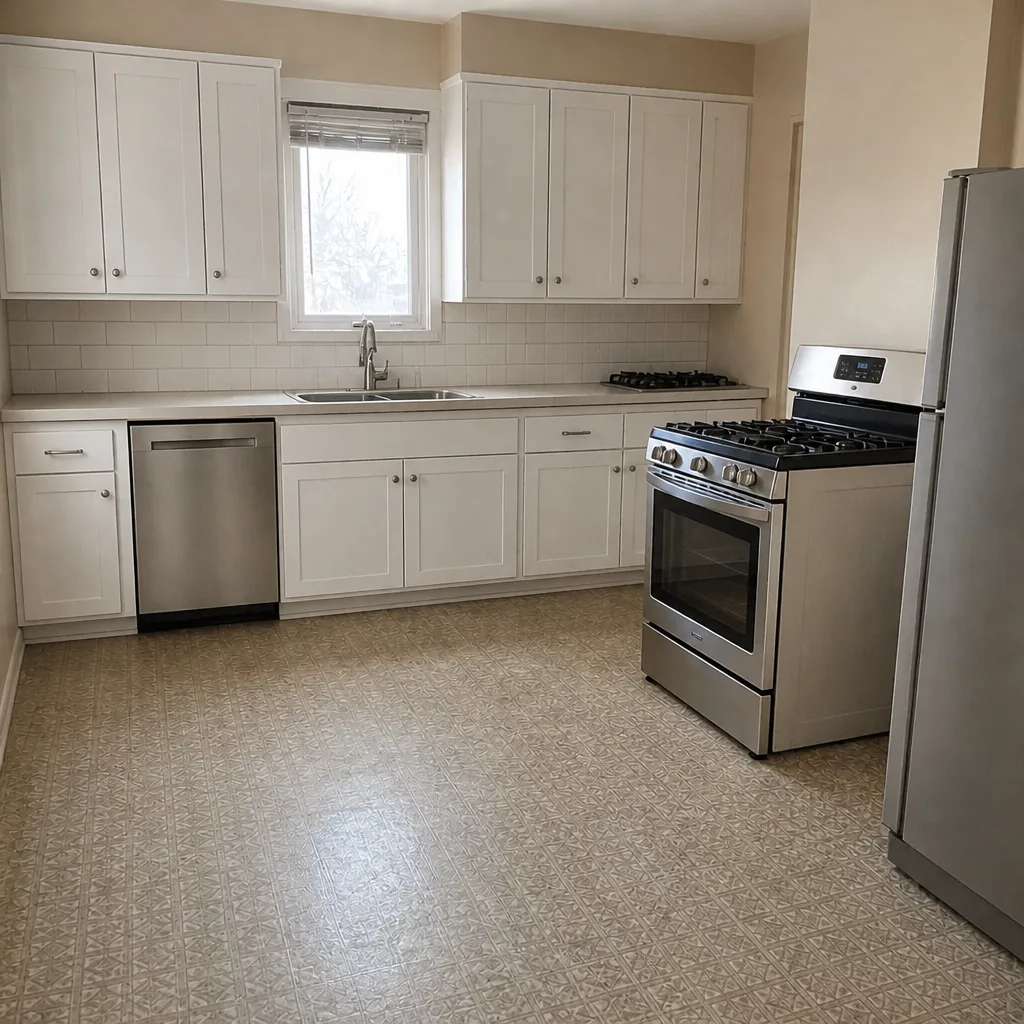 After
When to Call a Professional

Not everything belongs on a homeowner maintenance list. Call a professional when you find water damage under the sink that’s beyond a loose connection, when caulk lines keep failing within weeks of replacement, when you see a soft spot in the cabinet floor or subfloor, or when a countertop has cracked or come loose from its substrate. Cabinet doors that won’t stay aligned after tightening, or drawers that sag despite new slides, usually point to a structural or installation issue worth assessing in person.
Sawyer Remodeling Winchester offers free estimates in Winchester for kitchen maintenance assessments, warranty questions, and any repair that’s beyond the routine calendar. Call (888) 343-7097 to schedule yours.
Frequently Asked Questions
Every 6 to 12 months, depending on use. Winchester’s dry air doesn’t slow evaporation much indoors, and daily cooking accelerates sealer wear. The water test is your best indicator: if water soaks in rather than beading, reseal now.
Low interior humidity, typically during winter months in Winchester, causes wood to shrink slightly and can produce hairline cracks at joints. Keeping interior humidity between 35% and 50% prevents most seasonal cracking. If cracks are larger than hairlines, have them assessed.
A pH-neutral cleaner for stone and quartz, mild dish soap and warm water for cabinet faces, and silicone-safe cleaners for grout. Avoid vinegar, citrus, bleach, ammonia, and abrasive powders on natural stone. These degrade sealant quickly.
Twice a year, ideally in spring and fall. In a dry climate like Winchester’s, slow leaks often don’t show visible damage until the subfloor is affected, so regular inspection catches them early.
No. Engineered quartz brands like Cambria and Caesarstone are non-porous and don’t need sealing. They still benefit from pH-neutral cleaning and avoiding abrasive pads that can dull the surface finish.
Most of the calendar is DIY-friendly: caulk, cleaning, hinge tightening, and the under-sink walk-through. Call a professional if you find water damage, structural issues, or a repair beyond routine maintenance. Sawyer Remodeling Winchester offers free estimates for anything that needs a closer look, so call (888) 343-7097 for yours.
The Bottom Line

A remodeled kitchen stays looking new if you give it two hours a year, split across four check-ins. Reseal stone every 6 to 12 months, refresh caulk at the same interval, seal grout every 12 to 24 months, and run the under-sink inspection twice a year. In Winchester’s dry air, wood cabinets need humidity control more than polish. Skip the vinegar and citrus cleaners, and test sealant with water rather than waiting for dullness. Do that and year five looks a lot like year one. When something needs a professional eye, Sawyer Remodeling Winchester offers free estimates. Call (888) 343-7097 to schedule yours.
Written by the team at Sawyer Remodeling Winchester.